DIY Resin Knight Light

My middle name is my mother's maiden name, Knight, so I am always on the look out for anything with a knight on it. Perhaps this is why I went back to school for medieval art history.... Anyway, I digress (as usual), this Mardi Gras, I caught a bead that had a light up knight...of course I had to make something with it. This project is a Knight Light.
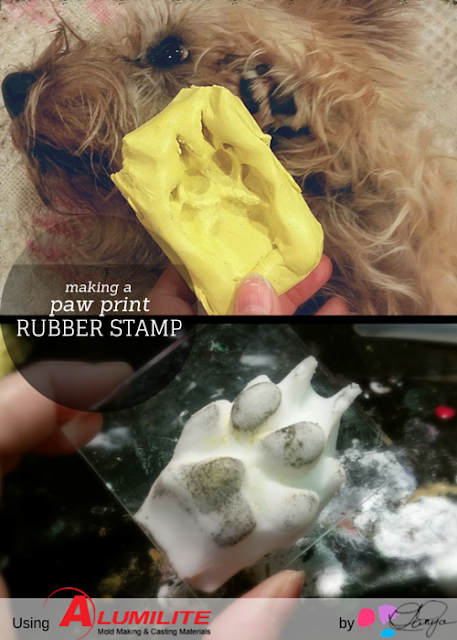
I created a mold using Amazing Rubber Putty.
No matter how I tried, my knight would not stayed taped or glued down to the plastic container. I think it was because it was a soft plastic. I just kept poking it down with a craft stick and finally I sucked the last bit of fight out of him and drowned the resilient knight. He stayed down and created a nice mold.

I also made a mold of some other catches. I can't wait to use the cherries!
Using some of the Amazing crafting Products Alumidust, I dusted the inside of the mold with the gold Alumidust.

Following the directions, I mixed up some Clear Cast and poured the mold.

The knight looks a little like C3PO in this bright gold but when lit up it looks amazing!. I purchased a Dollar Store night light and my hubby cut the plastic shield down about 2 inches.
.jpg)
Using E6000, I glued the knight to the front of the night light shielding.
The gold Alumidust over clear resin gives it just enough color to give a slight gold light.
I just LOVE the result!


Comments